How to Manage the EasyMail7 Server and Backups
"SuperAdmin" can start and stop the EasyMail7 Server, get the server status and events, clear events, create, download and upload backups, and restore data from backup.
After the installation, the EasyMail7 Server starts automatically and runs as a service on the background.
Manage EasyMail7 Server
1. Click on the "Settings" menu.
2. Click on "Server Settings".
3. Click on the "Manage Server" tab.
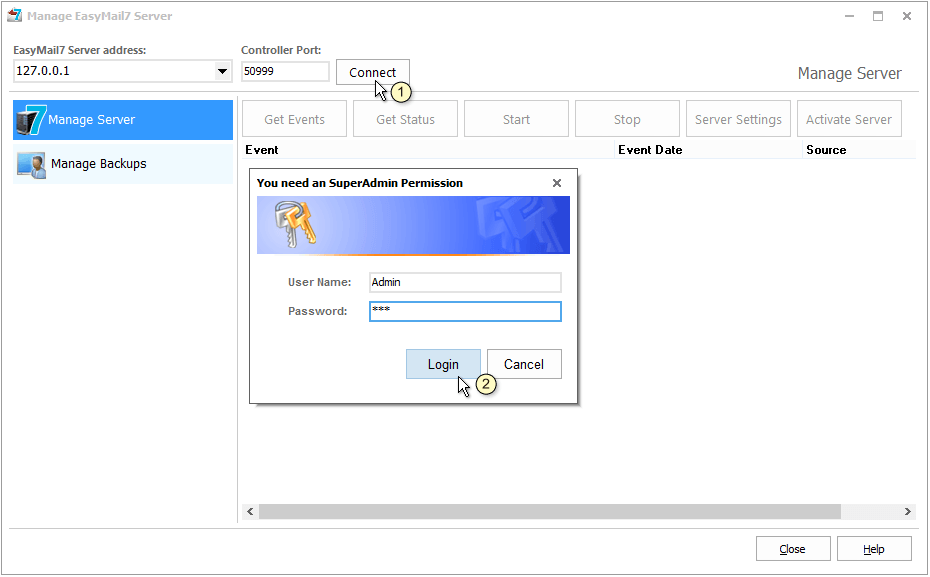
4. Enter the EasyMail7 Server address.
5. Click on "Connect".
6. Enter your SuperAdmin user name and password.
7. Click OK.
Here you can:
– click "Get Events" to get the server events with dates when the events happened and sources the events go from;
– click "Get Status" to get the current EasyMail7 Server status;
– click "Start" to start the EasyMail7 Server if it's stopped;
– click "Stop" to stop the EasyMail7 Server;
– click "Clear Events" to clear the EasyMail7 Server events from the screen.
Manage EasyMail7 Server Backups
Backup includes all users and workplaces stored on the EasyMail7 Server. Backup helps you protect the EasyMail7 Server data from damage or loss as you can quickly restore data from your backup file after you re-install or move the EasyMail7 Server to a different server.
Click on the "Manage Backups" tab.
Click "Create" to create a backup manually.
In addition, you can setup the program to automatically create EasyMail7 Server backup.
Click “On/Off” to turn the automatic backup creation option to On/Off.
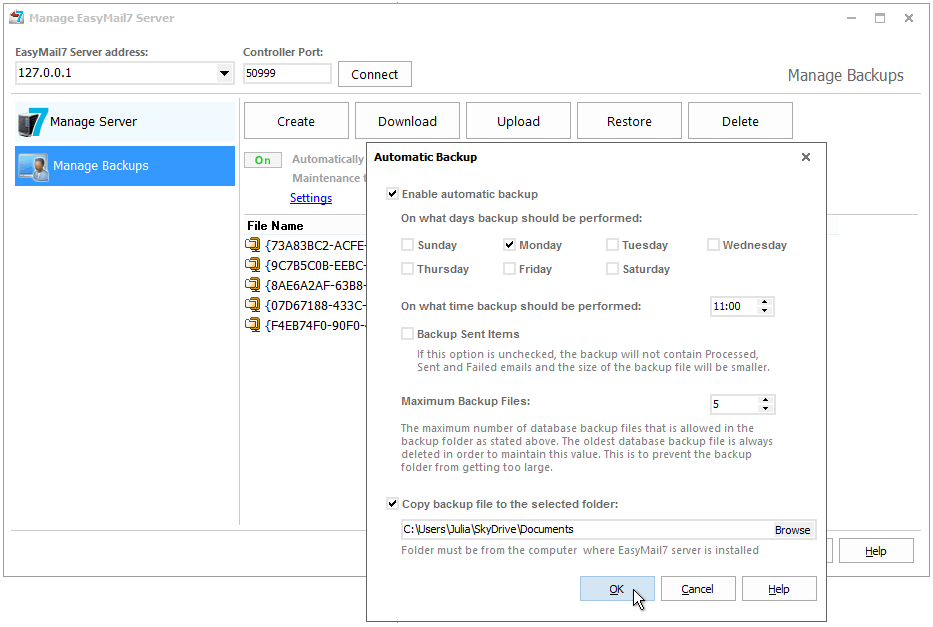
Click on “Settings” to configure the backup creation settings.
Enable automatic backup – check this option to enable the automatic backup creation.
Choose the day(s) and time to create the backup.
Maximum Backup Files – to prevent the backup folder from getting too large, choose the maximum number of backup files to store in the backup folder. The oldest backup file will be deleted.
Copy backup file to the selected folder – you can click “Browse” and select a local or network folder to save a copy of the backup file. The folder must be located on the computer where the EasyMail7 Server is installed. You can also save backup to a cloud file storage folder such as OneDrive, DropBox etc.
Click "Downlod" to download the backup file from the server to a local computer.
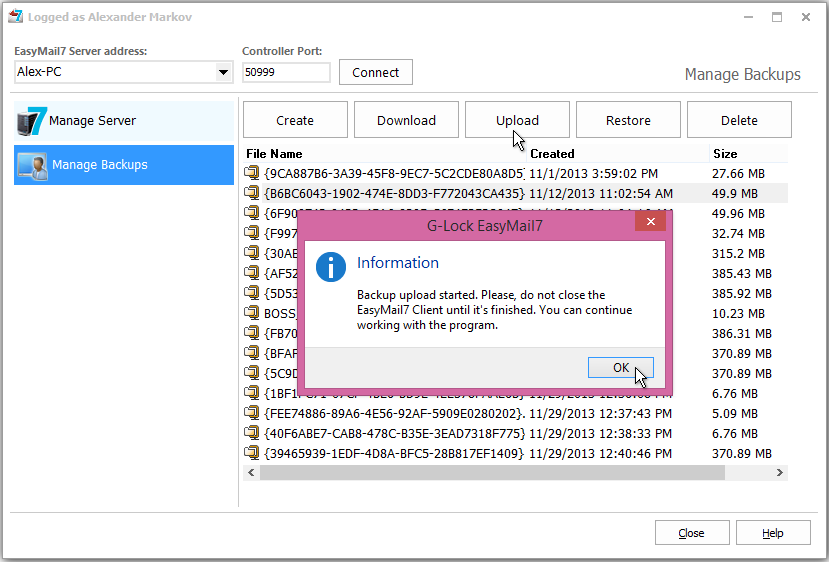
Click "Upload" to upload the backup file to the server. Select the backup file on the disk and click "Open". You will see a notification that the backup upload started.
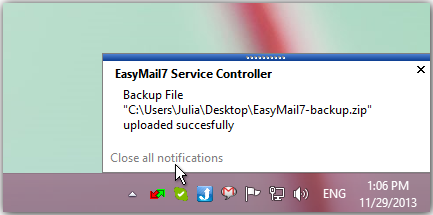
When the backup upload is finished, you will see a notification at the right bottom corner of your monitor.
To restore the data from backup, select the backup file and click "Restore".
To delete the backup file from the server, select the backup file and click "Delete".